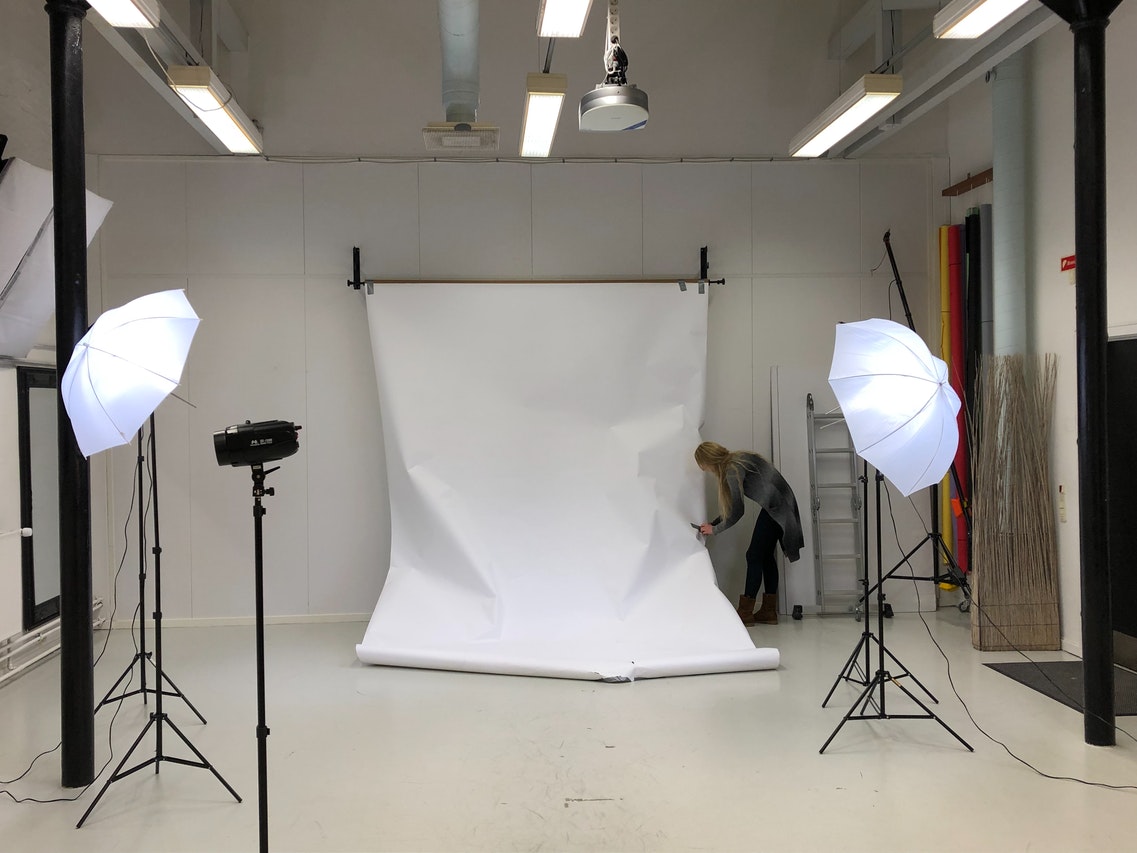
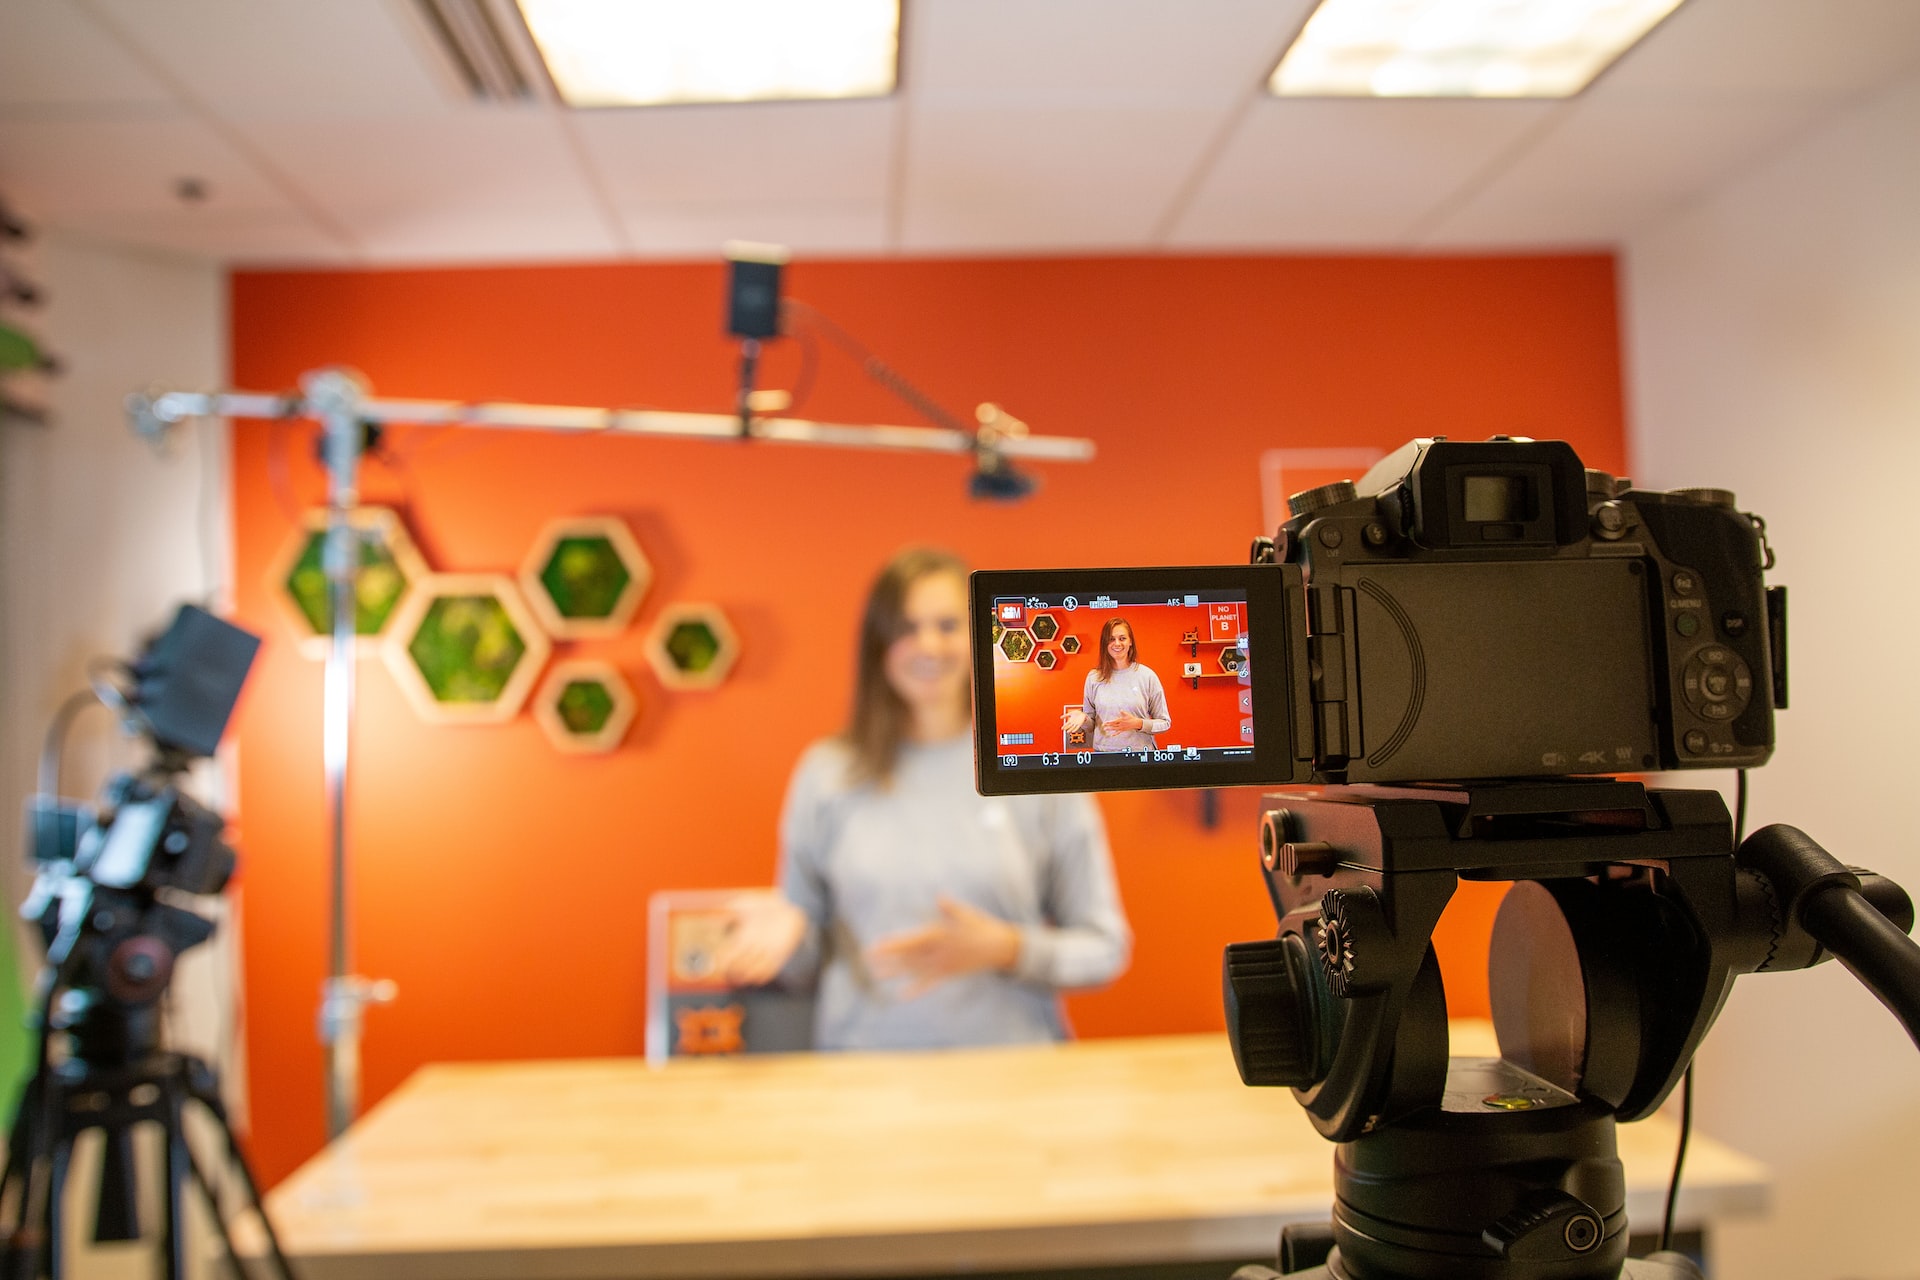
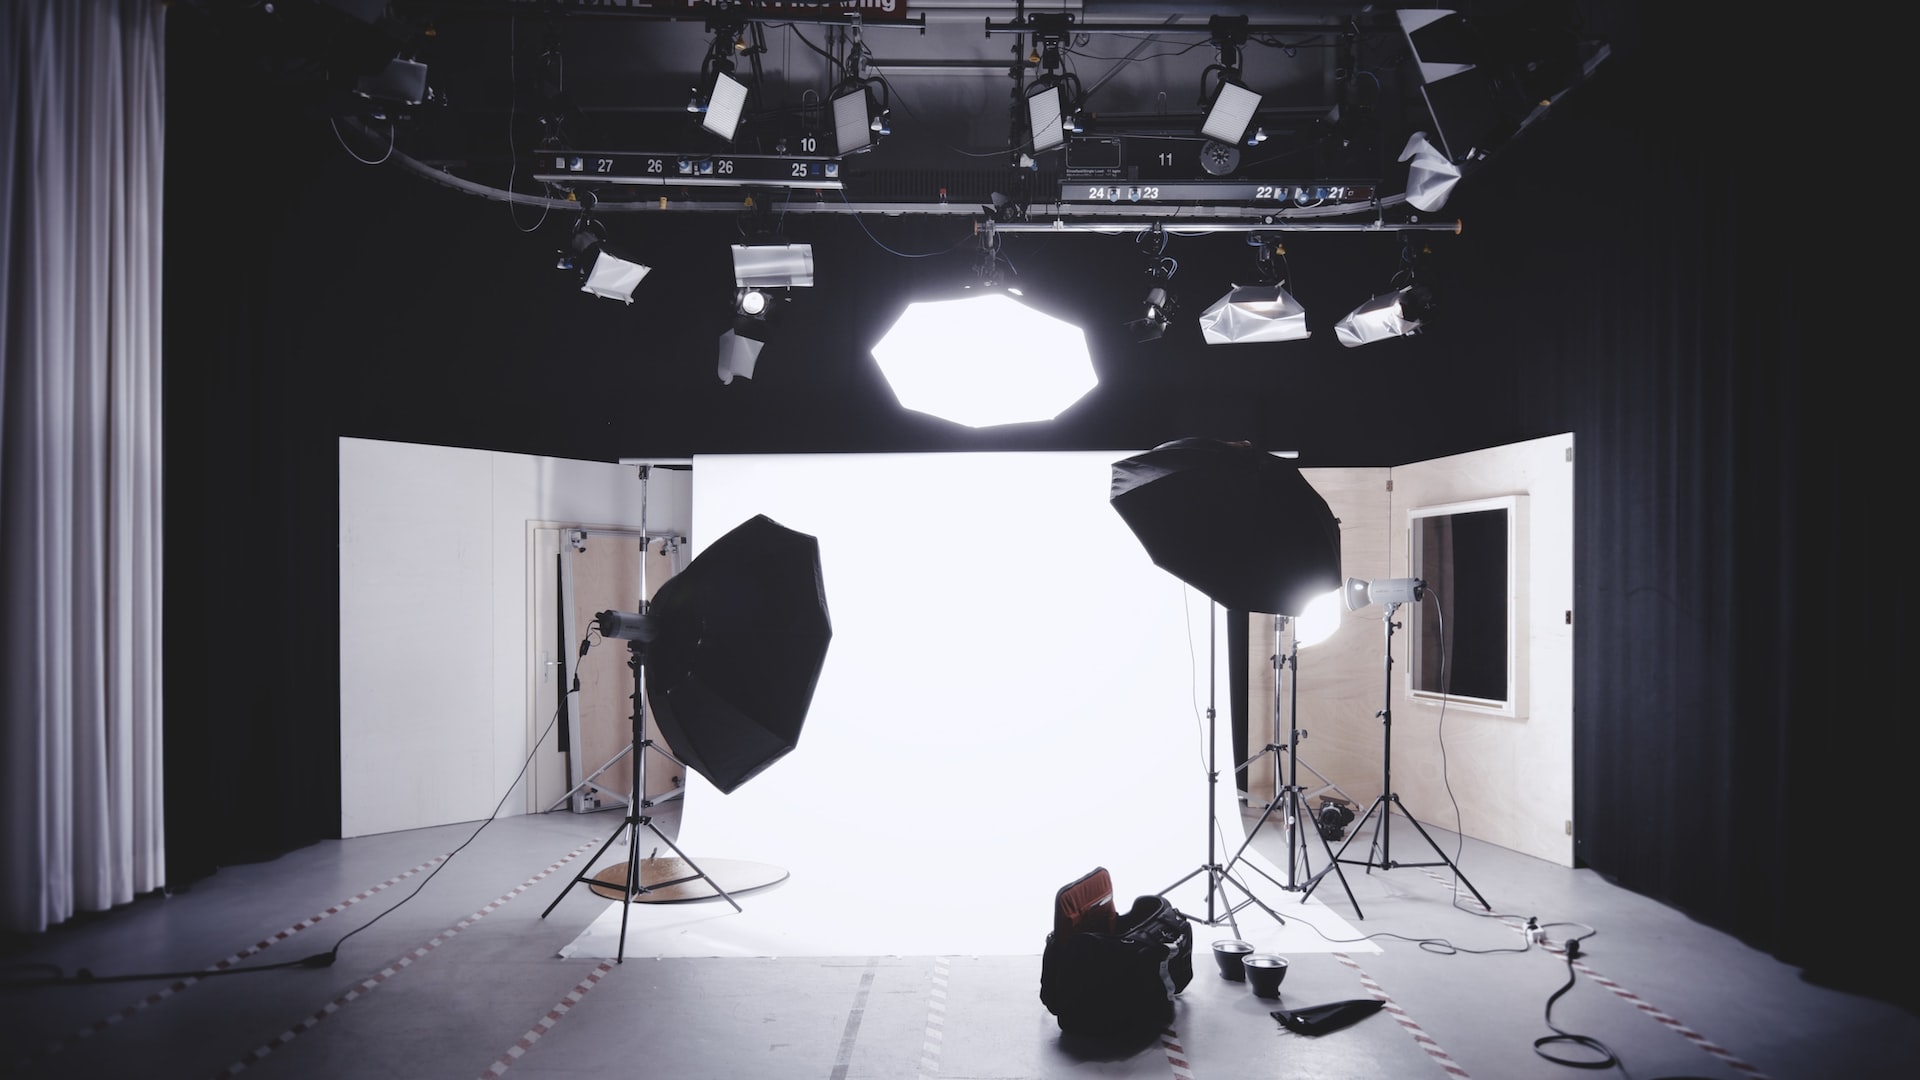
Video is critical to marketing to the digital audience. Whether you do live streaming, teaser videos, product videos, case studies, branding videos or any other content, how you frame your footage will play a role on your message. This is why lighting is everything.
Video lighting can be used to draw your audience in, or it can make you look unprofessional. The proper lighting can capture your audience’s attention and make your presentation look professional. When creating a business video for marketing, you want to ensure the lighting is proper.
Here are the seven things to keep in mind when choosing your lighting:
1. Backlighting for Style
Setting a scene for a fictional place can be as simple as placing a light source behind the set. Backlighting adds depth to a setting, showing shadows and allowing objects to cast shadows on each other. It can also diffuse the intensity of an image, especially when the light source is coming from behind the camera.
2. Bounce Lighting for Ambiance
You can use a light-coloured surface—such as a white sheet of poster board—to reflect light and illuminate a subject, such as the inside of an automobile. This method spreads light more evenly than a direct light source and works particularly well on shadowy areas of an object.
If you want to cover a whole environment in ambient light, consider bouncing the light across it.
3. Fill Light for Easier Post Editing
Fill light is like a flashlight. Professionals usually place the fill light high or low below their subject to make the shadows softer.
You can use fill lighting if you want your videos or photos to appear brighter. This is also sometimes referred to as fill light. Fill light can be used to decrease the contrast of a scene.
4. Key Lighting to Evade “Flatness”
In a photograph, the bright area of light you see on a subject’s face is the “key” light. It’s usually the first thing a professional photographer puts in a scene.
You do not have to have your subject face the camera. Just face it towards the corner of the room or beside a piece of furniture. This will keep your end product from looking too flat.
5. Practical Lighting for Interacting with Light
Regular light sources, such as candles, lamps, and televisions, are often used to depict nighttime scenes. This is called practical lighting.
These sources of light create a more realistic effect for the audience because most people in real life rely on them at night. The best moment to use practical lighting is when the subject or a performer interacts with these light sources.
6. Side Lighting for Extra Depth
Side lighting is perfect for lighting a scene from the side rather than from above or below. This creates dramatic shadows and highlights. Make sure that the light is parallel to the subject of your photo.
You use lighting from the side in a scene to add shadows and definition. This makes the objects in the scene pop out, making them feel like they are popping out of the page.
7. Soft Lighting and Hard Lighting
Soft lighting doesn’t have a direction. It can be used for aesthetic and situational purposes; you can create drama, eliminate harsh shadows, or mimic subtle lighting from outside.
You want to use soft lighting for your subjects during a studio shoot. In contrast, natural light from the sun can be challenging. It casts hard shadows and emphasises texture, contour, and shape.
Conclusion
Business video production is an exciting way to promote your business or brand, but it can be intimidating to start. Don’t worry! The best way to improve your marketing through video is to start with small, inexpensive steps to help you improve your video marketing efforts.
To improve your business video promotions, get assistance from Video Ads Melbourne. We help business owners across Australia and the United States through video ads to drive more results. For more details, contact us today.


